It’s no secret that 2020 has been quite the year for everyone. As such, when the Christmas season rolled around, we thought there was no better time than the present to build a Christmas light megatree for all to see. We documented each step in building this beautiful Christmas light display so that you can build one of your own!
Materials
- Christmas lights
- PVC pipes
- PVC couplers
- Zip ties
- Broomstick (for the base)
- Power drill
- Hammer
- Landscape stakes

Step 1:
Grab a warm cup of whatever you like and layout all the tools you’ll be using to build your megatree!

Step 2:
Our step 2 consisted of sketching out what we wanted our end product to look like. Sketch your tree or use ours for reference.

Step 3:
Hammer the broomstick base until 18″ is underground.
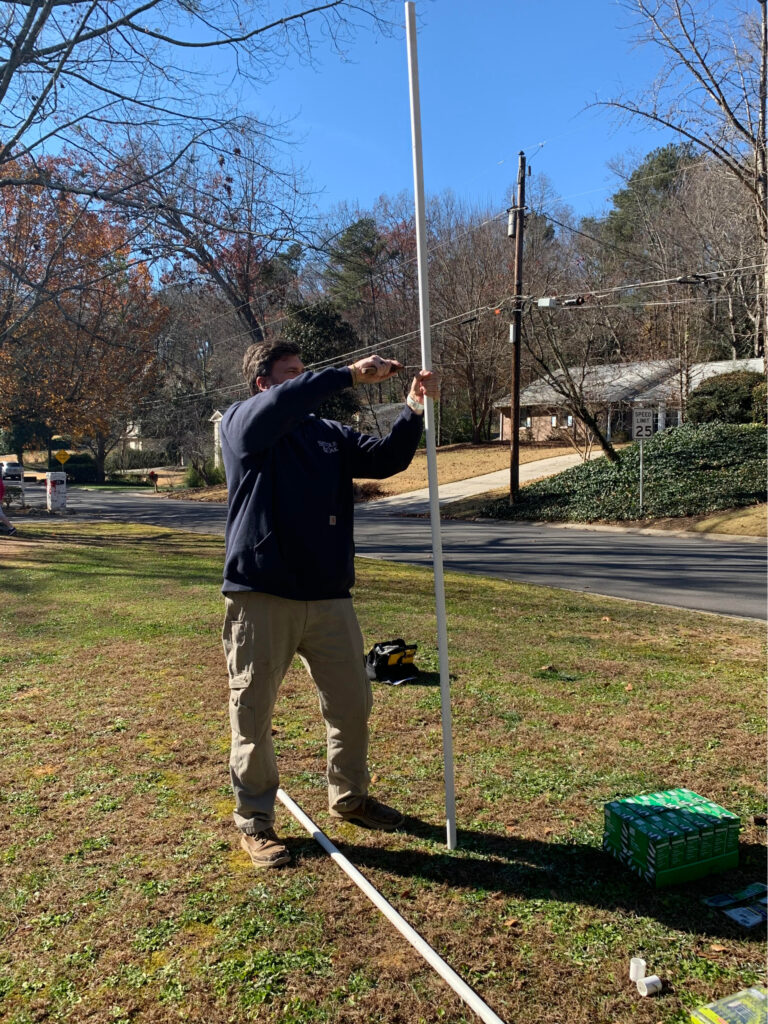
Step 4:
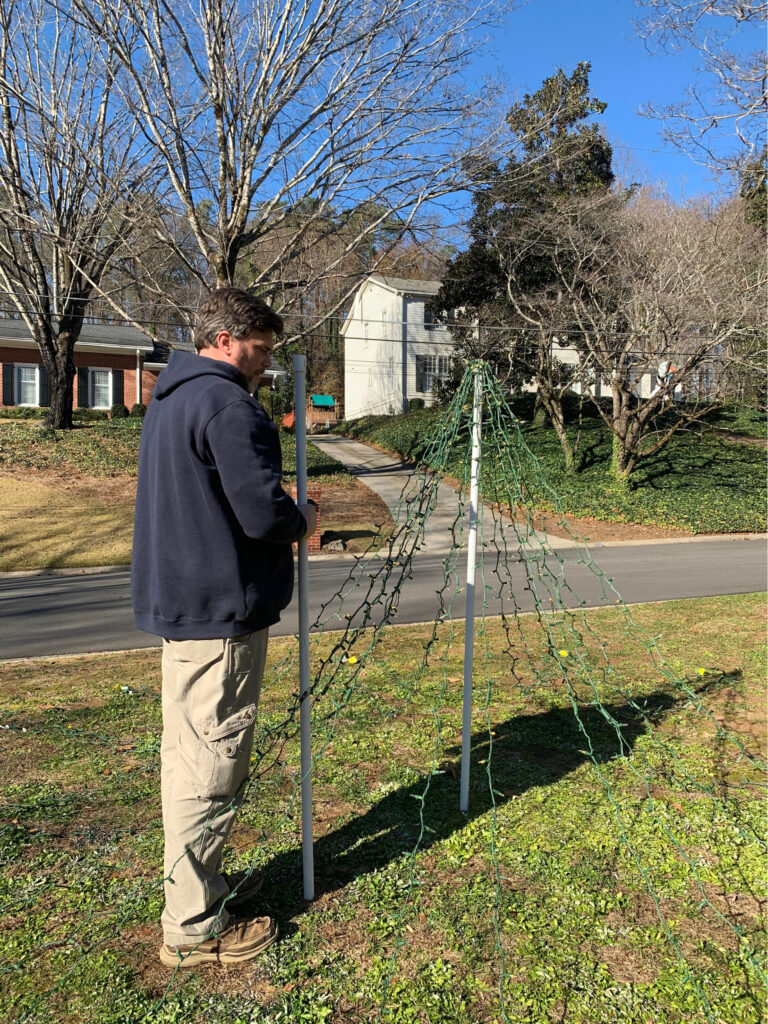
Cut your first piece of PVC pipe to desired length (this pipe will be around half of the tree’s final height).
Step 5:
After cutting the PVC pipe, slide the pipe over the broomstick (this first piece will serve as the top half of the megatree’s support).
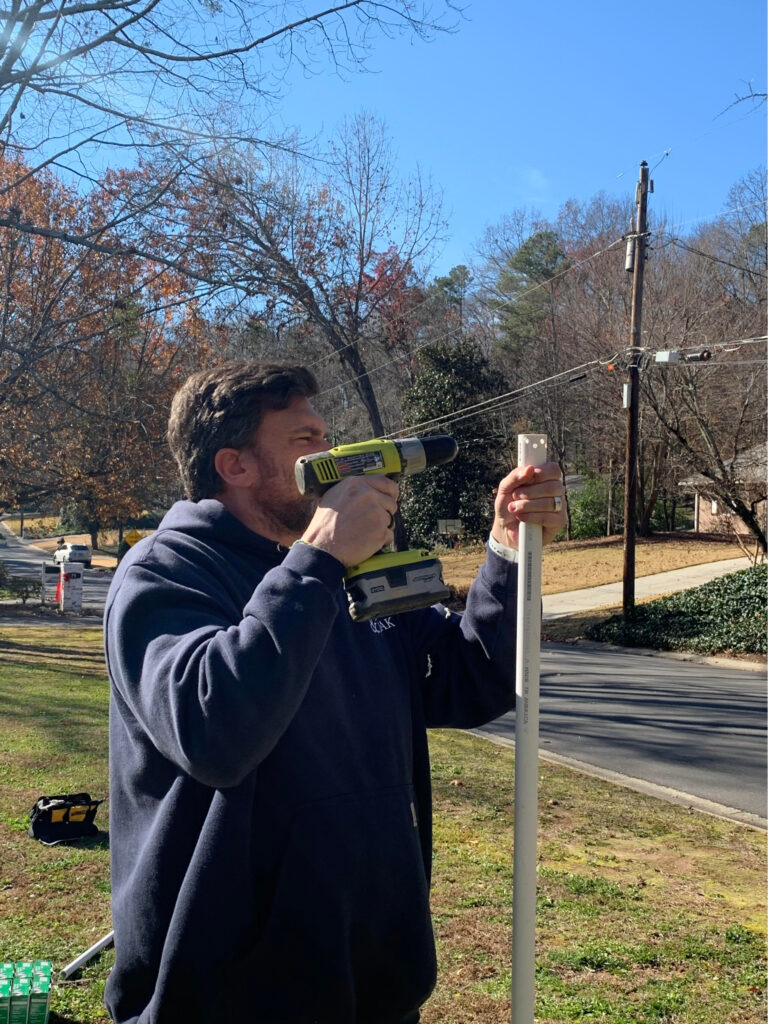
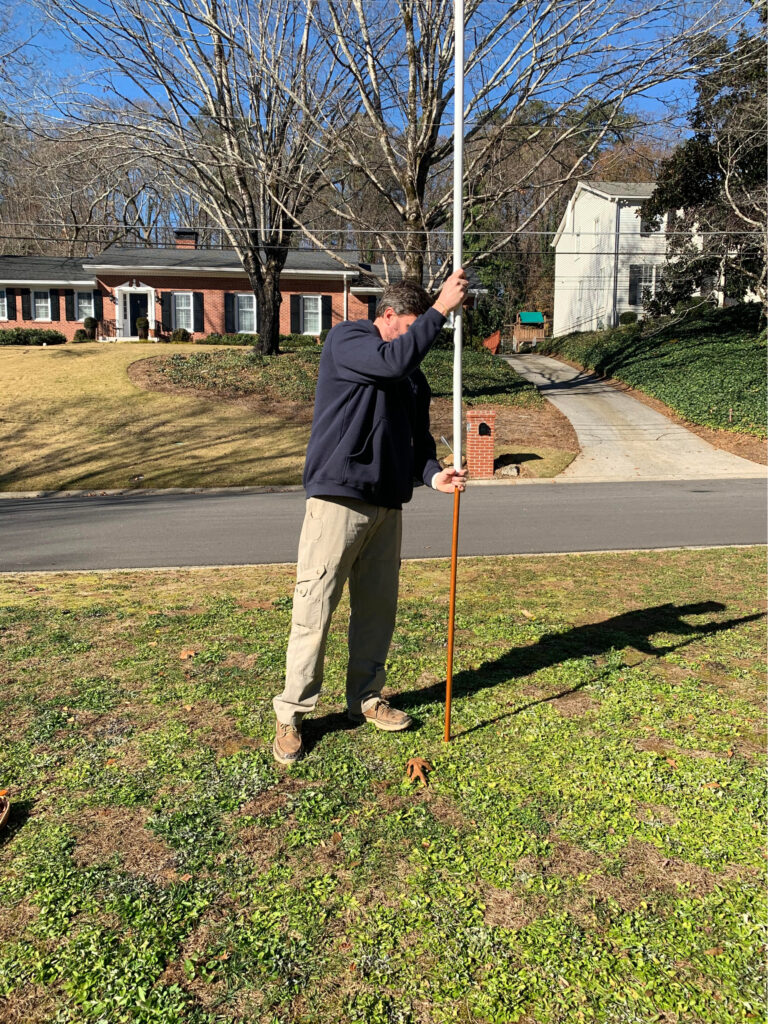
Step 6:
Attach a PVC coupler to the top of the first piece of PVC pipe. Then, using a power drill, drill as many holes in the top as you would like. The more holes, the more times you can string lights to the top of your megatree. (We drilled a hole for each light strand on our tree!)
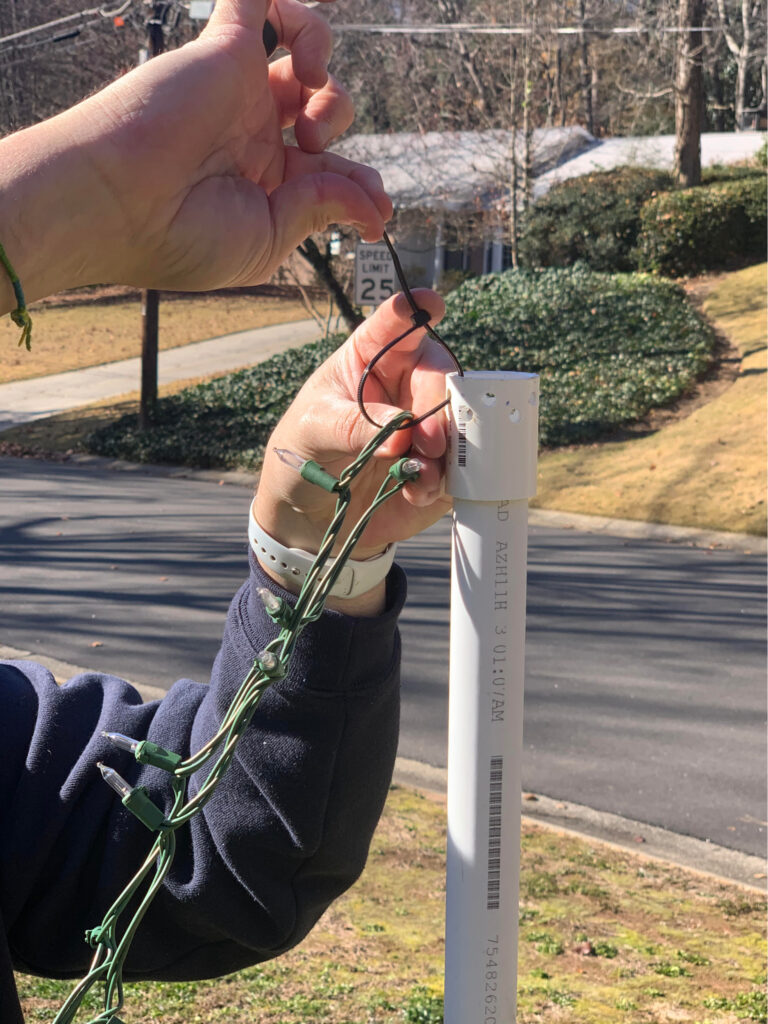
Step 7:
Take a strand of lights and fold in half. Use a zip-tie to attach the center of the strand to the top of the tree.
(NOTE: Attaching the center of each strand worked perfectly due to the measurements we accounted for in our planned sketch. Ben would like to note that the use of the pythagorean theorem can be used to see how long the sides of the tree need to be. He mentioned that Georgia Tech grads will know what he’s talking about, but UGA grads may have to look it up. If you are building a wider or taller tree, make sure to take this into account.)

Step 8:
After attaching the light strand to the top of the PVC pipe, spread the lights out away from the center.

Step 9:
For step 9, we thought it best to employ our adorable free labor force. If you have free labor of your own, feel free to utilize them for refills, to hand you materials, or help spread out lights!

Step 10:
Continue to connect and spread out strands of lights. Repeat Step 8 until you have worked your way around the entire tree.
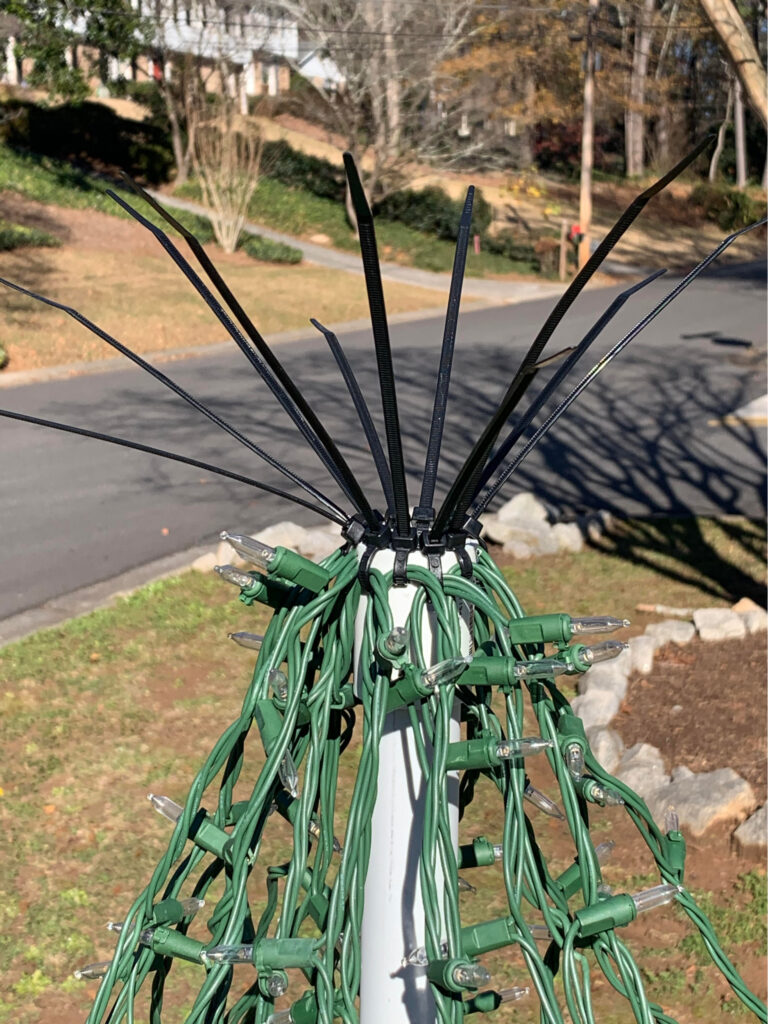
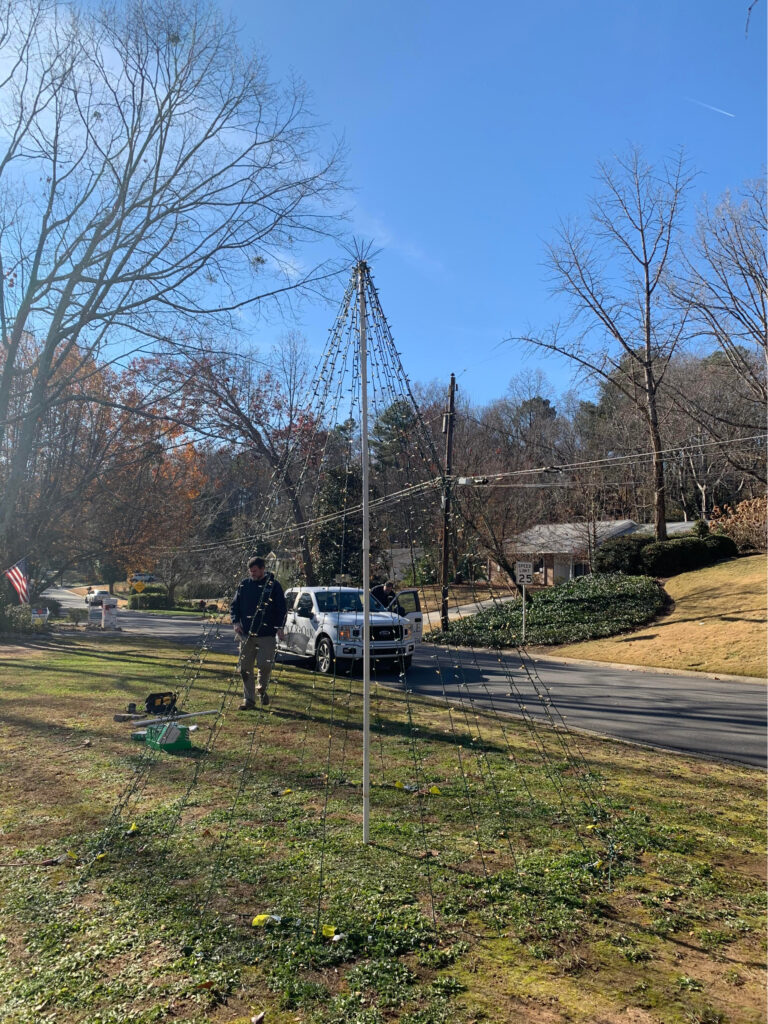
Step 11:
After making your way around the entire support structure, the top of your megatree will look like this.
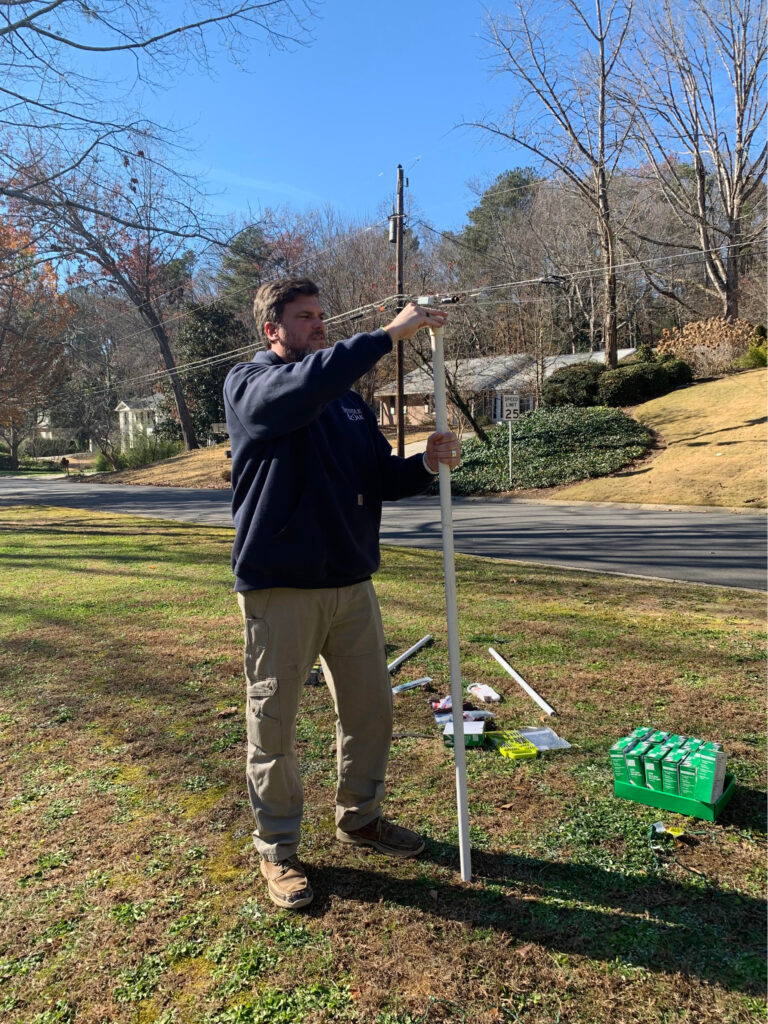
Step 12:
Cut a second piece of PVC pipe (this piece will serve as the bottom part of the tree’s structure) and add the second coupler.
Step 13:
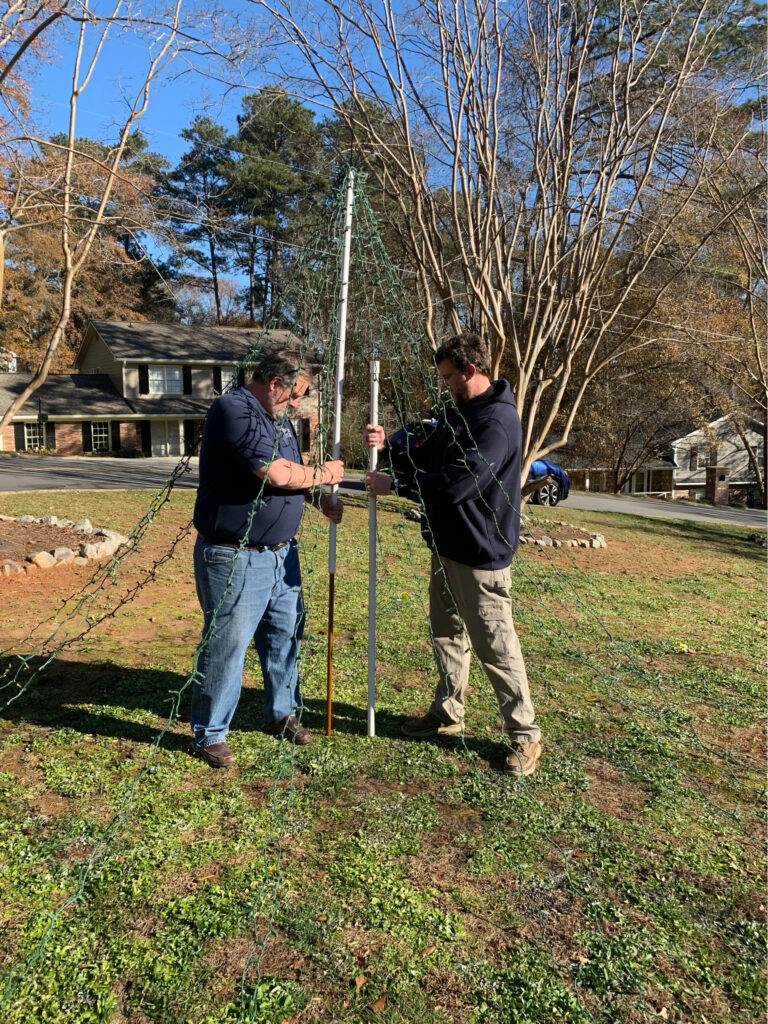
This step involved the realization that you will need to call in reinforcements to install the bottom piece of the tree.
Step 14:
Luckily, one of our project managers was nearby! With the help of someone else, lift the existing piece of PVC pipe up and off the broomstick base.
Step 15:
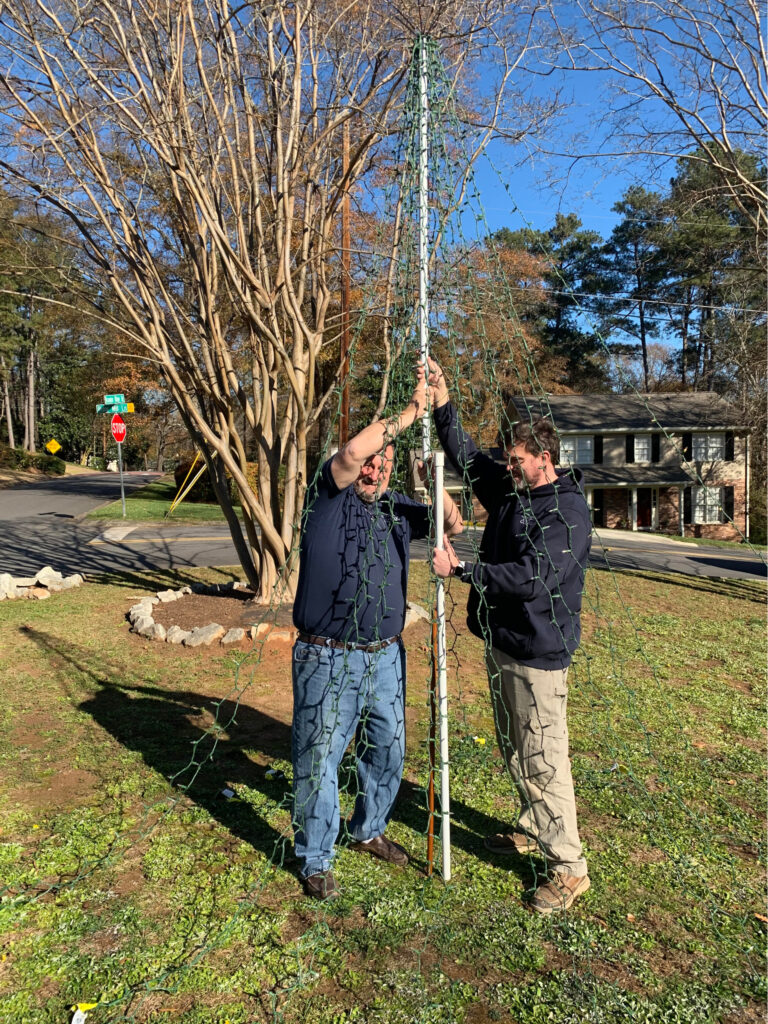
While one person holds the top piece above the base, slide the freshly cut PVC pipe over the broomstick base. Then, use the coupler to attach the top piece to the bottom piece of the center support structure.
Step 16:
Now that the tree has reached its full height, have one person hold the center support while you stretch out and attach the first few strands to the ground using the landscape stakes to stake the bottom of each light strand to the ground.
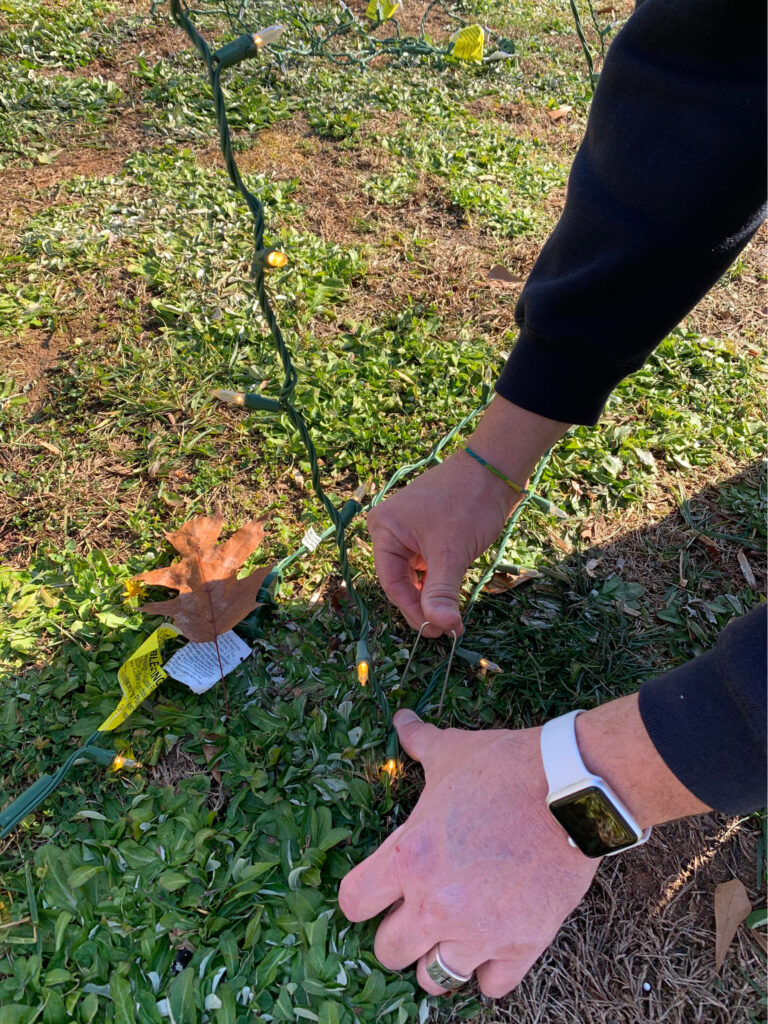
Step 17:
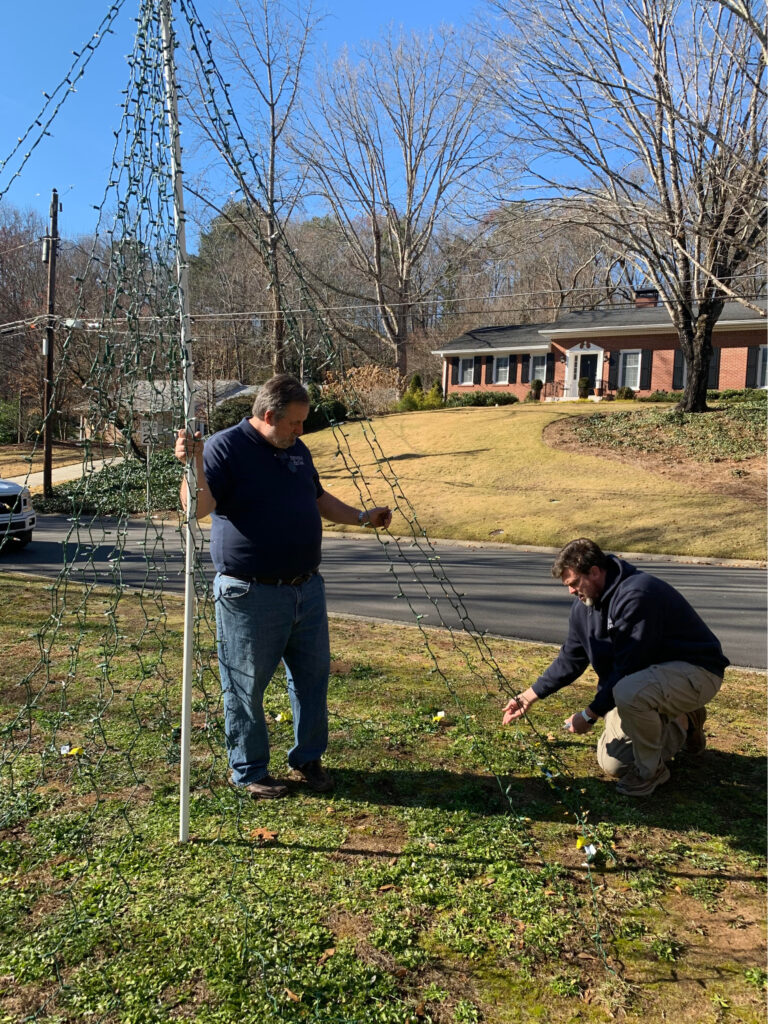
Once you are satisfied with the appearance of the exterior of your tree, double check the bottom of each strand of lights to make sure they are securely staked into the ground.
Step 18:
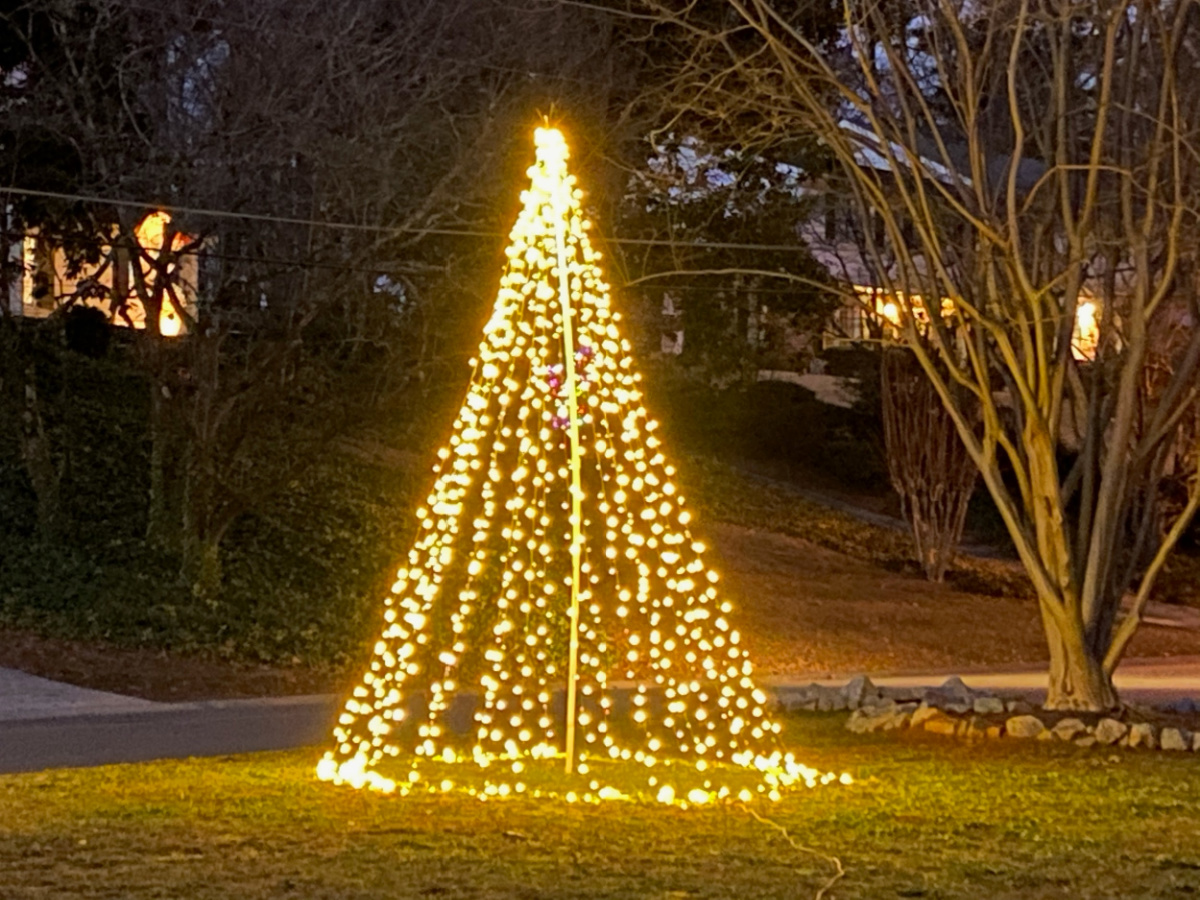
Take a step back and admire your work of Christmas art! We built our tree during the day for better visibility, but we knew that the end result that evening would be well worth the work. Happy Tree Building!